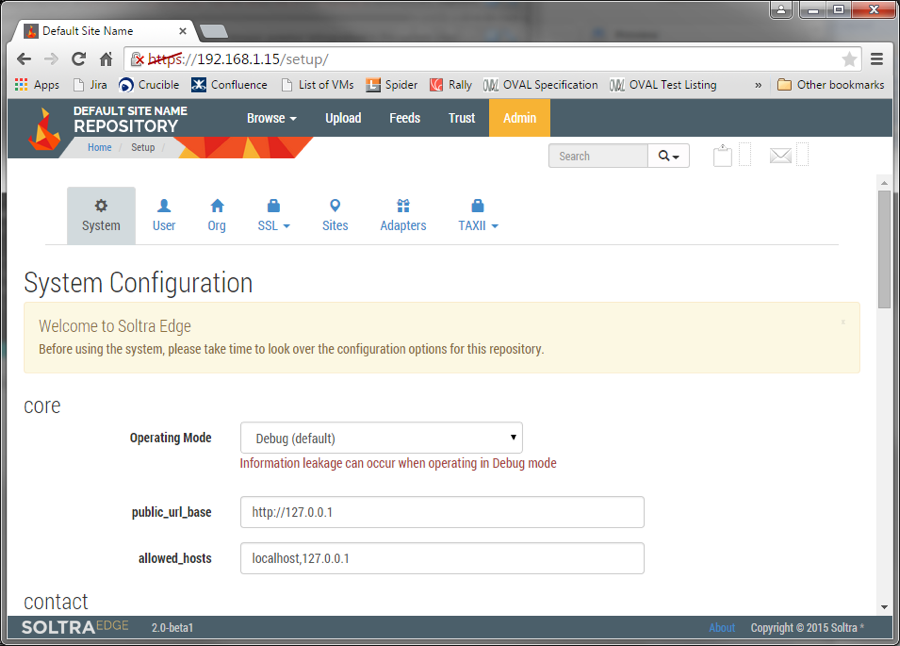
I've been talking to many different organizations recently about their sources of threat intelligence, and one thing I've heard numerous times is that some of the most timely, valuable threat intelligence they are receiving is via email. I’ve even heard that we’ve made some progress with STIX, as sometimes STIX content is attached to the emails—poor TAXII must feel so left out. In this article, I am going to lay out step-by-step just how simple it is to stop sending emails and start delivering threat indicators via STIX and TAXII. To give a little background, I described the reasons Tripwire cares about threat intelligence and particularly STIX and TAXII in my article, Why We Should Care About STIX & TAXII. Then, I tried to cut through all the excuses for why vendors aren’t consuming STIX delivered via TAXII when I shared how Tripwire started ingesting STIX content in only 70 lines of python code. Now, I'm going to show you how to set up your own TAXII server to deliver threat intelligence information to your enterprise and beyond. TAXII, like many modern protocols, relies on plain old HTTP for its data transport layer, which means a TAXII server can take advantage of standardized technologies, such as SSL for privacy and authentication. What TAXII adds is the ability for clients to "subscribe" to a feed of STIX data. Each client will then have an "inbox" available to them on the TAXII server containing any threat intelligence data, which has been delivered since the last time it was checked. Sounds a lot like email? If you like, you can think of TAXII as having the advantages of email, plus the ability to easily automate the collection and analysis of threat data. Start out by downloading a pre-built virtual machine from Soltra, a Tripwire partner that offers a popular and freely available TAXII server. There's a link to get their flagship product, Soltra Edge, on their homepage. Once you have it, create a new virtual machine in your host of choice (e.g. vSphere), but choose not to attach any virtual disks – you'll use the disk images included with the Soltra distribution. Following the instructions provided with the download, attach the disk images, then boot your new VM. A URL, username and password will be displayed on the console. Enter these into a web browser, and you should be presented with a screen like this:

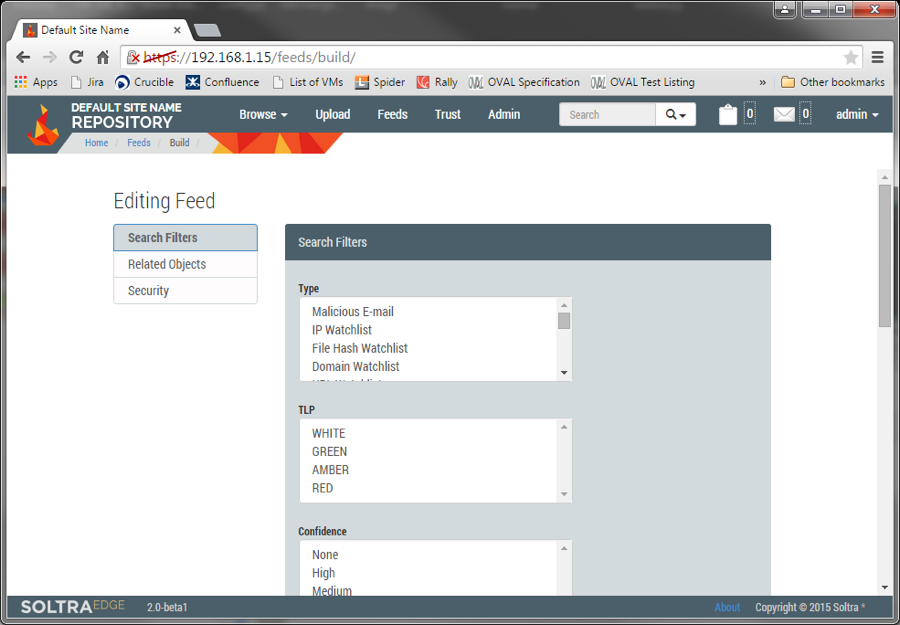
To create a new TAXII feed, click "Feeds," then "Create Feed." You will be taken to a screen with filtering options:

This is where the power of TAXII begins to become apparent. Regardless of the type of content uploaded to the server, I can create customized feeds to narrow down the information to what I want to present – much better than asking my recipients to sort through an Outlook inbox by hand and then copy and paste the indicators out of the email. Once my feed has been saved, I can test it by importing some content to my Edge appliance using the "Upload" tab, then viewing the feed by clicking "Feeds" in the top toolbar, followed by the "View" button next to my new feed. Finally, to share customized threat feed to the world, simply forward a route from the appropriate network(s) to the HTTPS port on your appliance. The best part is, when your organization serves intelligence via TAXII, you're joining global network of automated threat intelligence dissemination, because others can now import your feed and use it to form their own curated content streams. And all of that took me less time to explain how than the preparation of a typical Starbucks latte order – which your partners might want to treat you to, after you tell them you'll no longer be clogging up their mail spools.

